Get Up and running on the net with Netlify
by Bill Jellesma2019-12-14 23:00:00
I've been using Netlify for quite a while already. I use netlify to host both https://taskifyio.netlify.com/ and https://billjellesmacoding.netlify.com/, the blog that you're reading this article on right now. With just the hosting alone, I love using Netlify as it was an extremely easy and quick way (and free) for me to get my projects up and running on the web. However, I know that Netlify has loads of other really cool features that I wasn't taking advantage of so I decided to do some explorering.
What is Netlify
Netlify is a platform for hosting your front end application. I say frontend here because if you need to host more backend features for your app such as an api or database, you may need to find additional products. You can still use Netlify to host your frontend, which is very valuable in this day and age given the explosion of javascript frameworks and static site generators.
For example, my blog is built using GatsbyJS, a static site generator. Essentially, once I'm ready to deploy a new version of my blog, I run the gatsby build command and several html, css, and javascript files are spit into my public folder. The essence of a static site generator means that all I need is simply web hosting for those files. This makes Netlify the perfect all in one solution. Even my blog posts, which I write in markdown, are able to be built into html files.
My Taskify app is a little bit more complicated. I use Vue.JS for the frontend so Netlify has no trouble hosting this. I have a Flask based backend api running on a different port for retrieving my lists and tasks. Netlify is unable this kind of Flask application so I need to use Heroku, a platform to host several types of server side code such as python. Taskify also uses a database for storing the lists and tasks. Again, I need to look elsewhere for my database and use a cloud based MongoDB called Mlab.
Basic Setup
One of the most appealing things to me when I first looked at Netlify was the fact that the code can be hosted straight from a code repository. Most commonly, you can deploy straight from Github but it is possible to use other repositories like Gitlab or Bitbucket.
When on the main page, you're able to upload a site folder by drag and drop or you can simply connect a New site from Git. When you create a new site, you will be asked to hook up a repository

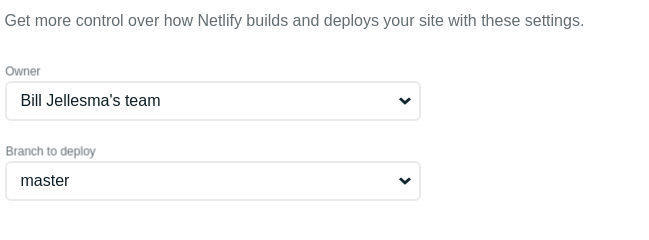
Click your provider of choice, in my case Github, and you'll simply be asked by Github to authorize the account. You'll then be shown a list of your repositories. On the final page, you'll simply be asked a branch to deploy. For now, we can just select the master branch. We'll also select public as the directory that serves our built code.
When finished, you'll be redirected to your dashboard and Netlify immediately starts to build from your repo. Your site is live and you can use the link that Netlify provides to view your site!
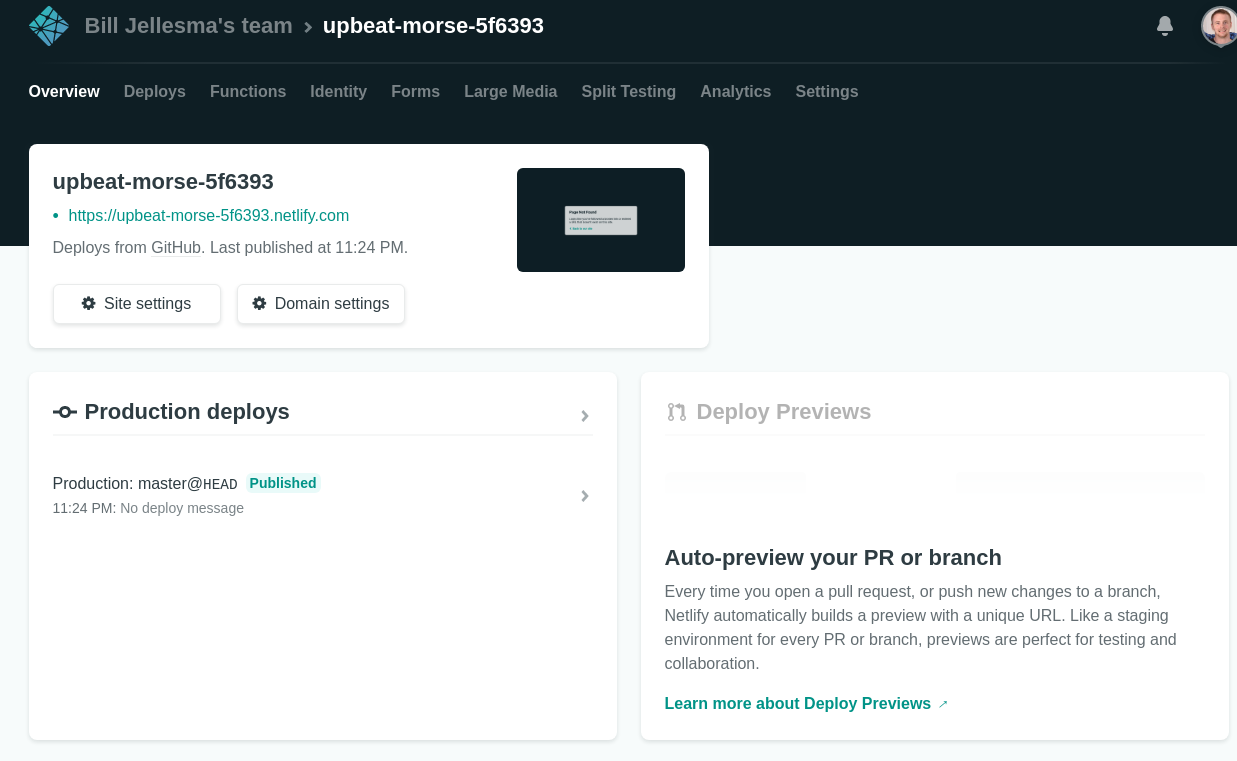
That URL sounds more like some weird code than an actual domain. This is because in order for Netlify to get you up and running, they're just issuing you a unique name. If you click Site Settings -> Change Site Name, you'll be able to enter any name that you want provided that it's not taken.
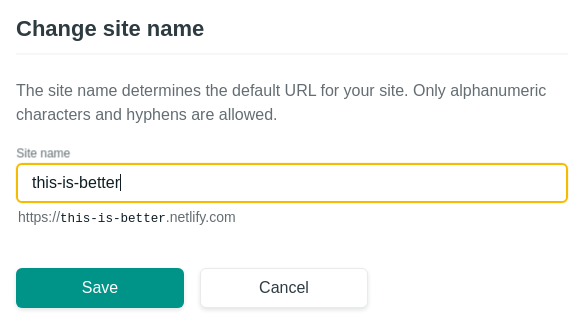
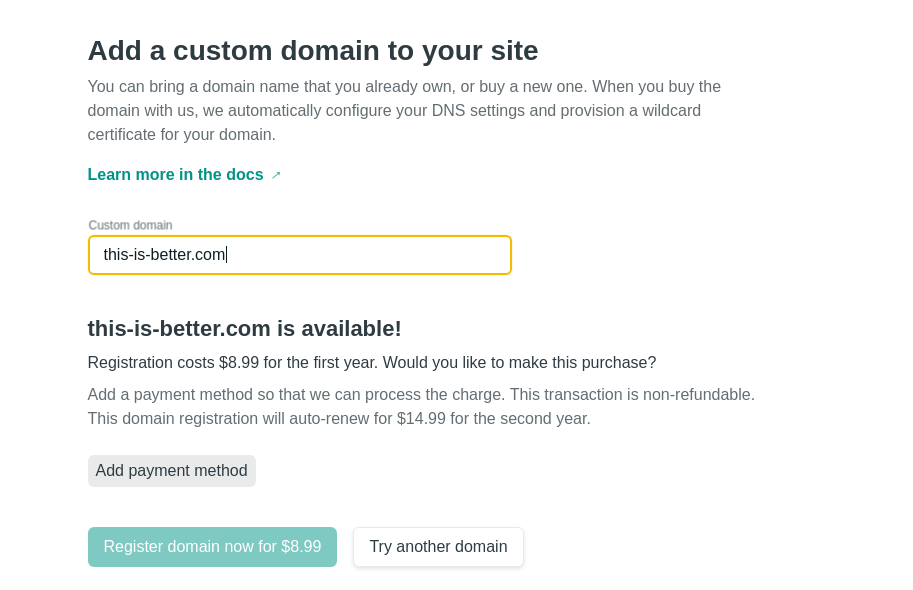
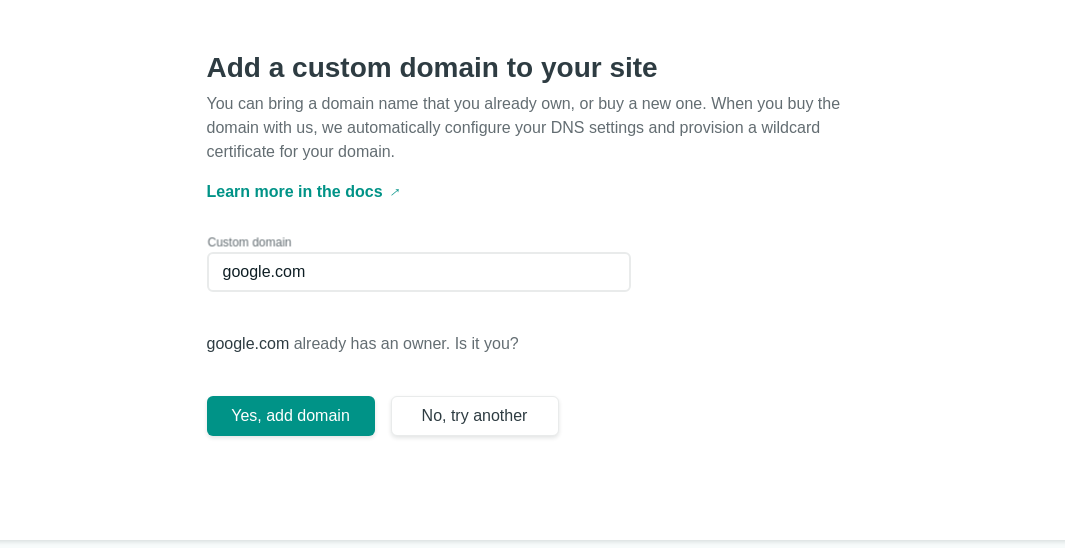
Notice that will still have the .netlify.com at the end of our URL. This is because we're using a free subdomain of Netlify. This is fine for pet projects and blogs, free is good in most places, but if you have a business, this might be undesirable. We can change to use a custom domain by going to domain settings. We can either buy a domain through Netlify so they handle all the ugly DNS work or we can type in a domain that we already own and Netlify will give us the nameservers to use for our DNS.
So, now we have a basic setup of Netlify.
Slightly Advancedd
In addition to setting settings in the UI, we can set a netlify.toml in the root of our project. This file can set things in UI for us and can even set things we can't do in the UI. It also has the advantage of enabling other developers to easily setup their own Netlify site. You can read all that the file is able to do for us in the docs but I'm just going to use the file to set our build directory. We've set the build directory above so this is an alternative.
[build]
    publish="public"
Continuous Deployment
It's pretty cool that Netlify can deploy from Github repositories but let's see if we can take the process a step further to make it even easier. Right now, these are the steps for deploying my gatsby site:
gatsby buildgit add .git commit -m "<commit message>"git push
In my experience, I'll write a new blog post in markdown and forget to rungatsby build. Instead, I'll just push the repo. When Netlify has finished publishing the commit, I'll refresh my website and I'll see a blank screen and then I'll realize that I've forgotten to build the code. Fortunately, Netlify has ways of building the code automatically so that we don't even need to worry about this. By viewing the docs, you see that this is part of their common configuration
Simply type gatsby build as the Build Command in settings -> Build and Deploy -> Continuous Deployment. Our deployment process is now as follows:
git add .git commit -m "<commit message>"git push
You also don't have to deploy from the master branch. In my case, I want to use a separate publish branch. If I go to Edit Settings in settings -> Build and Deploy -> Continuous Deployment, I can edit the deploy from repository. Netlify will ask for my repository again and ask which branch to choose. Having a separate branch is great because I can even have another branch called staging that will deploy to an entirely new site. This way, if I don't like the way that something looks when I deploy to the staging URL, I can fix it before I merge to my publish branch
Built in Security
Netlify understands the importance of security and offers free HTTPS on all of their hosted websites. Https is incredibly important for any web app/site that has forms and logins. Https encrypts communication so when you're entering sensitive information into forms, you definitely want encryption so that the bad guys can't get a hold of your credentials. Google has also taken a notice of the importance of HTTPS in today's increasingly online world. Therefore, Google makes known that one aspect of how they rank websites in their search results is by giving higher weight to websites that have HTTPS. HTTPS has long been known to have these capabilities, but it has also been known to be confusing and costly to enable HTTPS. Netlify makes this process easier by offering free HTTPS.
Forms
One cool feature that I decided to explore a little bit more was form submission. With form submission, I can create a contact form for comments on the blog or a sign-up form for a newsletter. Adding a form can be a little bit more difficult than it may seem in the docs. In the admin dashboard for my blog, I clicked the forms tab and it gave me this little snippit of code to put on a page.
<form name="contact" netlify>
  <p>
    <label>Name <input type="text" name="name" /></label>
  </p>
  <p>
    <label>Email <input type="email" name="email" /></label>
  </p>
  <p>
    <button type="submit">Send</button>
  </p>
</form>
Unfortunately, I found that I needed instead to use the sample code in the docs:
<form name="contact" method="POST" data-netlify="true">

  <p>
    <label>Your Name: <input type="text" name="name" /></label>
  </p>
  <p>
    <label>Your Email: <input type="email" name="email" /></label>
  </p>
  <p>
    <label>Your Role: <select name="role[]" multiple>
      <option value="leader">Leader</option>
      <option value="follower">Follower</option>
    </select></label>
  </p>
  <p>
    <label>Message: <textarea name="message"></textarea></label>
  </p>
  <p>
    <button type="submit">Send</button>
  </p>
</form>
Notice that we've set the form method to POST instead of the default GET and we're using data-netlify="true"attribute rather than netlify attribute. This attribute is necessary for Netlify to be able to find your form.
I found that this POST was still leading to a 404 and, after scouring the interwebs, I found that we also need to add <input type="hidden" name="form-name" value="<name-of-form>" /> (In our case,
<form name="contact" method="POST" data-netlify="true">
    <input type="hidden" name="form-name" value="contact" />
  <p>
    <label>Your Name: <input type="text" name="name" /></label>
  </p>
  <p>
    <label>Your Email: <input type="email" name="email" /></label>
  </p>
  <p>
    <label>Message: <textarea name="message"></textarea></label>
  </p>
  <p>
    <button type="submit">Send</button>
  </p>
</form>
Spam Prevention
Netlify has built in spam protection through an integration with Akismet. However, you're even able to take spam prevention a step further with a Recaptcha. The details of using a recaptcha in your forms is in the docs. One caveat is that Netlify's built in recaptcha will not work with React Based websites. Fortunately, you're able to add a custom recaptcha.
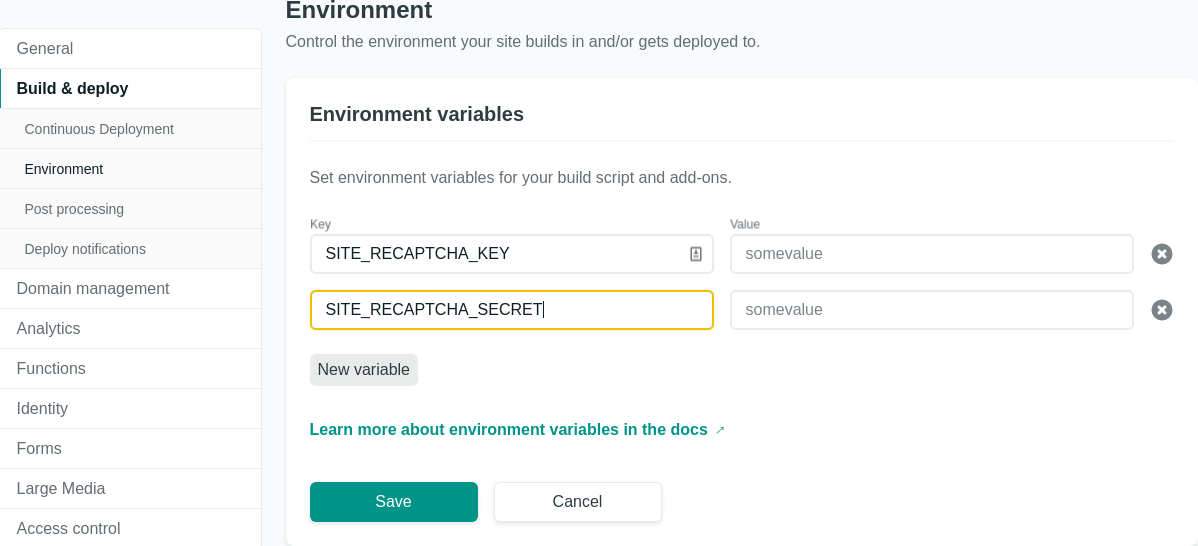
- You can sign up for a free Google reCAPTCHA. Once you have the site key and secret key, simply add these as environmental variables on your netlify dashboard.
- Add a
data-netlify-recaptcha="true"attribute to your form tag.
The next steps are specific to using Gatsby
Install the Gatsby plugin that use the reCAPTCHA javascript library and the react plugin to render the JSX with `npm install --save gatsby-plugin-recaptcha react-recaptcha
Implement the Gatsby plugin in your
gatsby-config.jsfile with the following:
plugins: [
    {
      resolve: `gatsby-plugin-recaptcha`,
      options: {
         async: true,
         defer: true,
         args: `?onload=onloadCallback&render=explicit`,
      },
   },
   ...
I did find that I needed the defer property as an error would cause my recaptcha to load twice.
Your final form should now look like this inside of a react component
import Recaptcha from 'react-recaptcha'

const Page = () => (

    <div>
      <form name="contact" method="POST" data-netlify="true" data-netlify-recaptcha="true">
        <input type="hidden" name="form-name" value="contact" />
      <p>
        <label>Your Name: <input type="text" name="name" /></label>
      </p>
      <p>
        <label>Your Email: <input type="email" name="email" /></label>
      </p>
      <p>
        <label>Message: <textarea name="message"></textarea></label>
      </p>
      <Recaptcha sitekey="your_site_key" />
      <p>
        <button type="submit">Send</button>
      </p>
    </form>
  </div>
  </Layout>
)

export default Page
Aside from the debugging, forms is a great feature that typically necessitates server side code and maybe a database. Netlify saw how useful form submissions are and decided to make that available for everyone!
Conclusion
What else can I say? I think the best thing to say is that what we've talked about is all FREE and we haven't talked about other features in their free model such as logins or handling large media.