Testing Packages and Systems with Virtual Box
by Bill Jellesma2022-01-12 23:00:00
If you've read any of my other articles, you'll know that I'm a fan of virtualization. I like using virtual environments for all of my projects so that I have a clean portable slate to work with. I've talked about my favorite python virtual environment pipenv. However, there are times where I need to test something installed globally like a database or maybe I need to install a new program altogether or maybe I want to test how a program I wrote works on another operating system like Linux. For this, I need something a little bit more robust. For this, I'll use Oracle's VirtualBox.
Installing Virtualbox
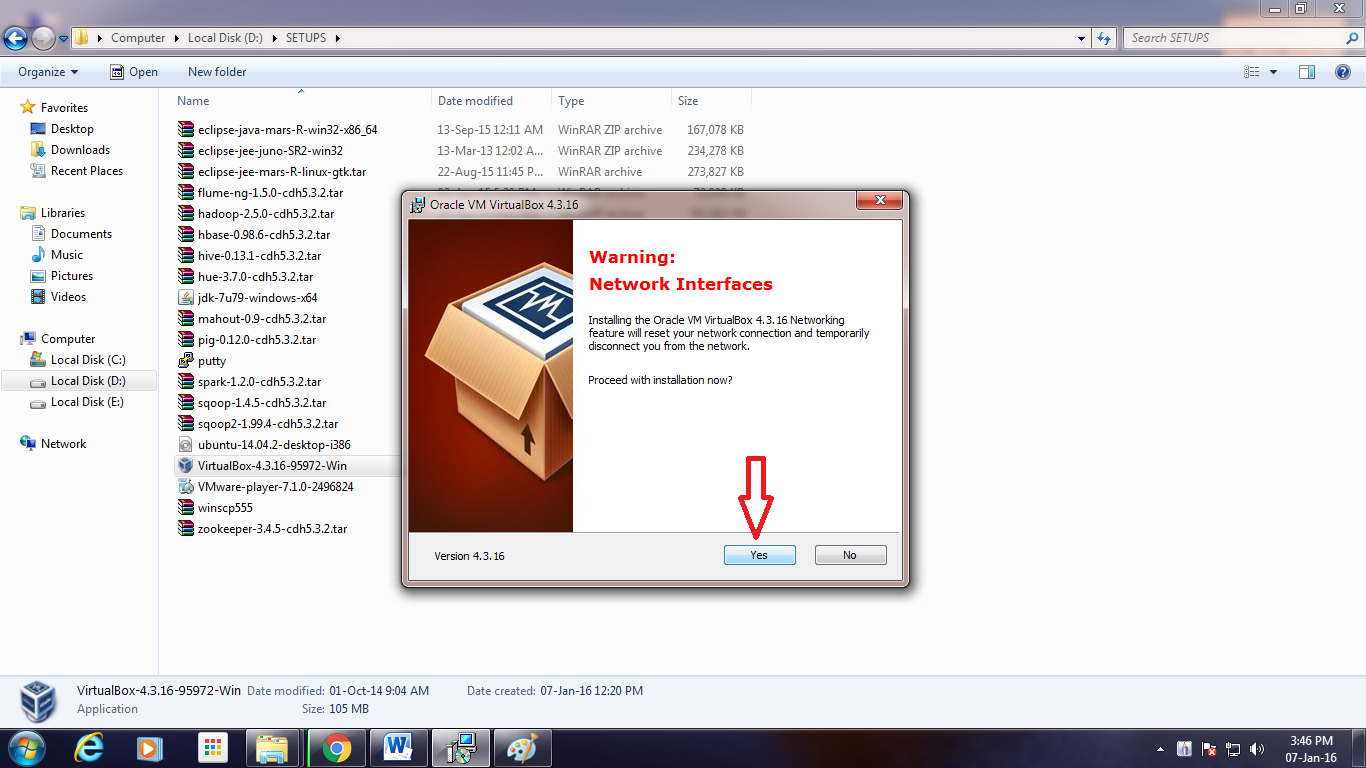
If you're using Windows, you can simply download the latest version of VirtualBox. Installation of the software is pretty standard like any piece of software. The only additional notification to be aware of is that installing network interfaces may temporarily disconnect you.
Installing VirtualBox is even easier as you just install it using your distribution's package manager (debian based distributions use apt-get): sudo apt-get install virtualbox.
Download an ISO file
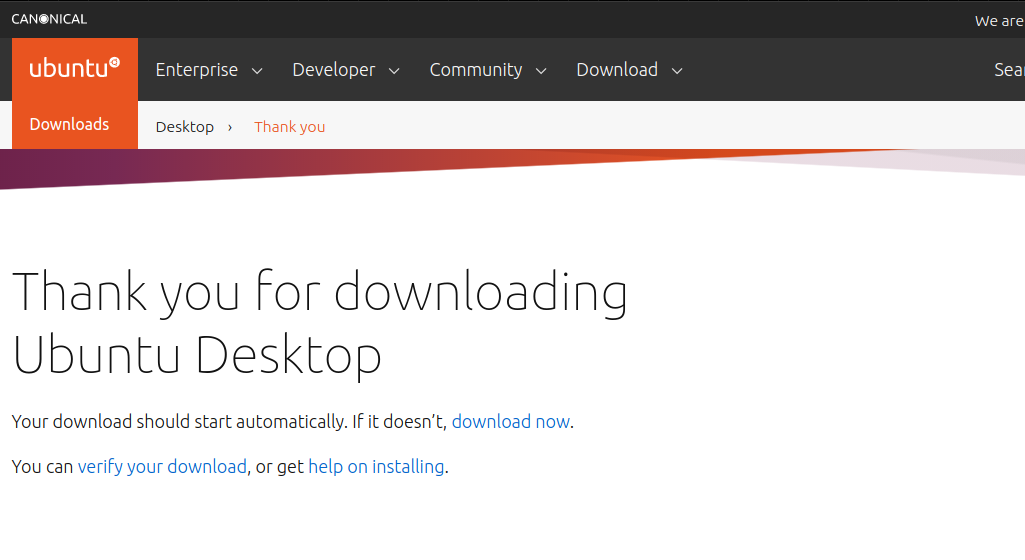
You need a disk image to be able to tell virtual box what operating system you'd like to use. In this example, we'll use the latest version of Ubuntu. Don't worry, this is free to download as it's part of Linux open source. Simply go to Ubuntu's website and use the large download button. As soon as you click download, your browser should start downloading the iso file. Notice that the file is quite large so it may take 15-30 minutes to download.
Creating a new virtual machine
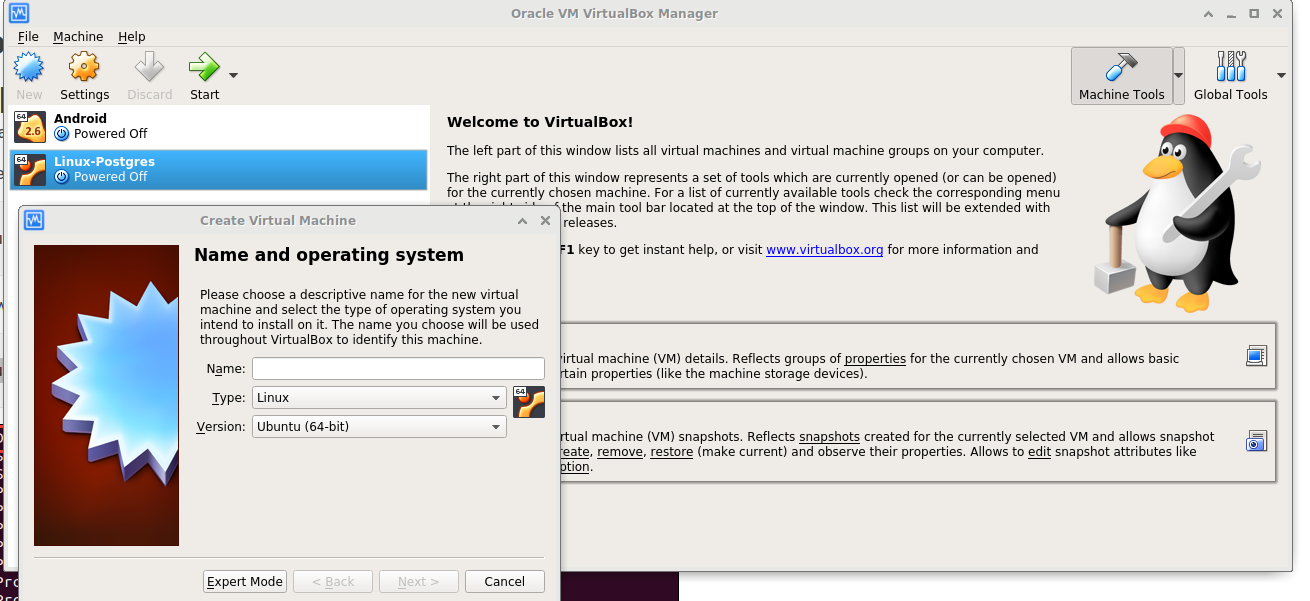
Once the software is installed, simply open VirtualBox and click "New".
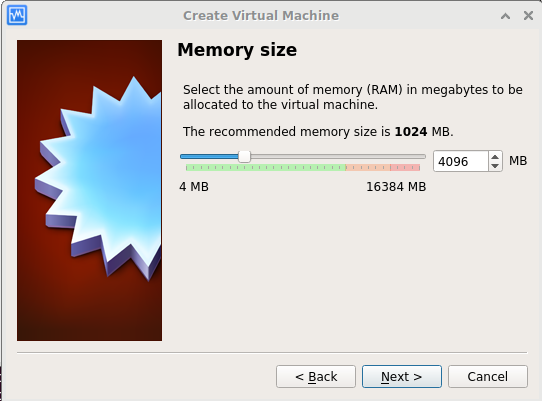
Next, you'll be asked how much memory you want to allocate to this virtual machine. If you're just testing a program and are not going to have this virtual machine running concurrently with other virtual machines, I'd say you can probably, if you can spare it, choose 4 gigabytes (4096 megabytes). My computer has 16 gigabytes of RAM which, in 2022, is about average, so this leaves 12 gigabytes of RAM that I can use concurrently while the virtual machine is up. Depending on your intended use with the virtual machine, you may want to do more or less.
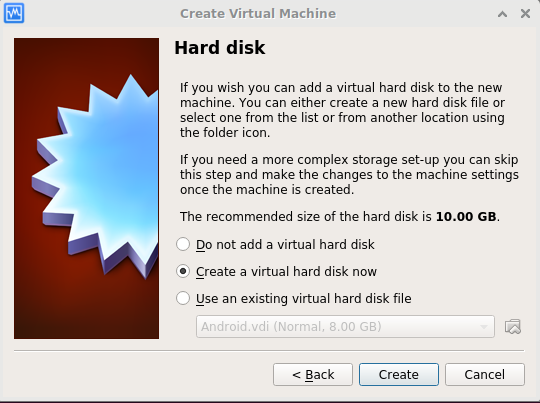
Next, you'll be asked to create a hard drive. Most of the time, you'll want to create a new hard disk drive (which is why this is the default option). If you were transferring a virtual machine say from a computer/server that died, which happens more in industry where most servers are virtualized, you may choose to use an existing virtual hard disk file. However, if you're in a business, you're most likely using enterprise grade virtualization software such as VMware Workstation.
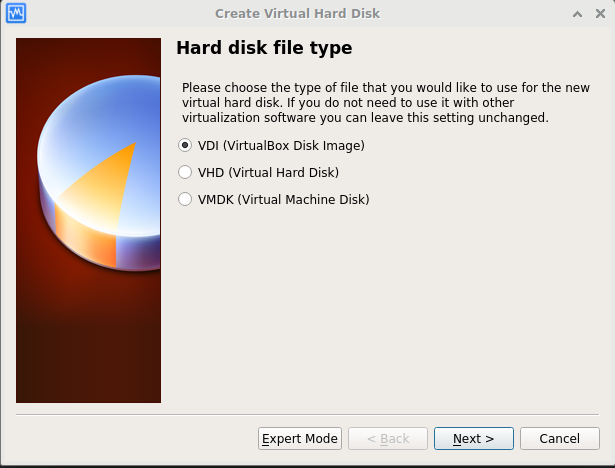
You'll also be asked what type of hard disk file you'd like to make. This is only important if you wish to carry this file over to another machine/server. So again, the default option is fine.
You'll be asked how you'd like to allocate hard disk size. This is only important if you have unique constraints such as your pysical hard drive disk is low on space and only has a certain amount of room. Generally, these virtual hard drive files are not very large so it is unlikely any limit will be hit (again, depending on your use case). A dynamic allocation will still have a limit so that it can't grow to a massive 200 gigabytes but will only grow to that amount as space is needed. Dynamic allocation should be fine in most circumstances.

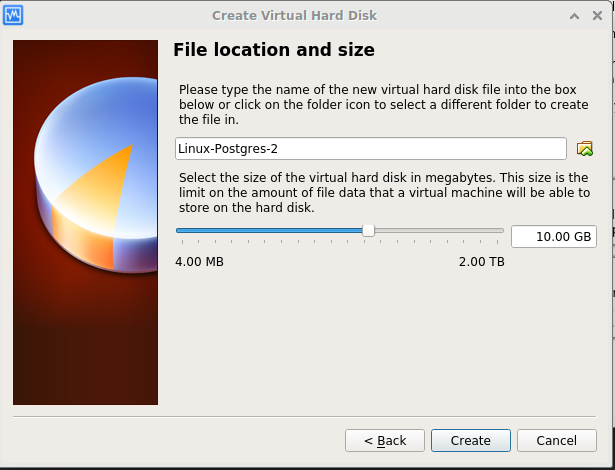
Next, you'll be able to set the limit on your allocation. 10 gigabytes should be plenty if you're just testing out software. However, if you intend for this virtual machine to be around for a long time and accrue a lot of software/files, it may be wise to double or triple this limit.
You may or may not be prompted to load an iso file into the optical drive. If you weren't, or need to change the iso, you can simply right click the created virtual machine, choose settings and go to the storage tab.
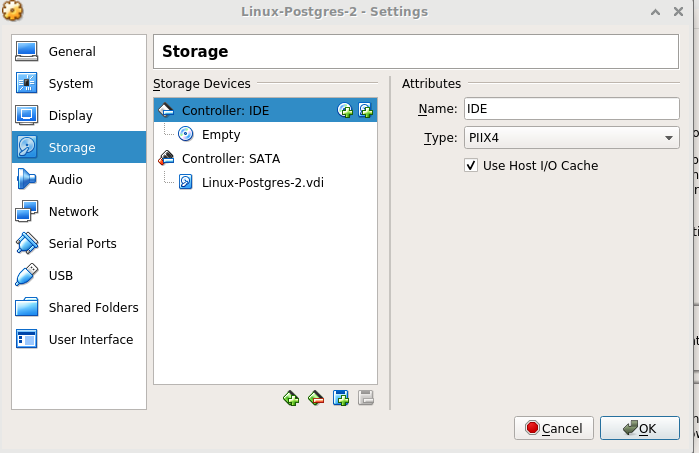
From here, click the little button to the right of your IDE controller to add an optical drive. You'll now be able to upload an iso file. This file will be the file you downloaded earlier containing the operating system you chose.
Start the machine
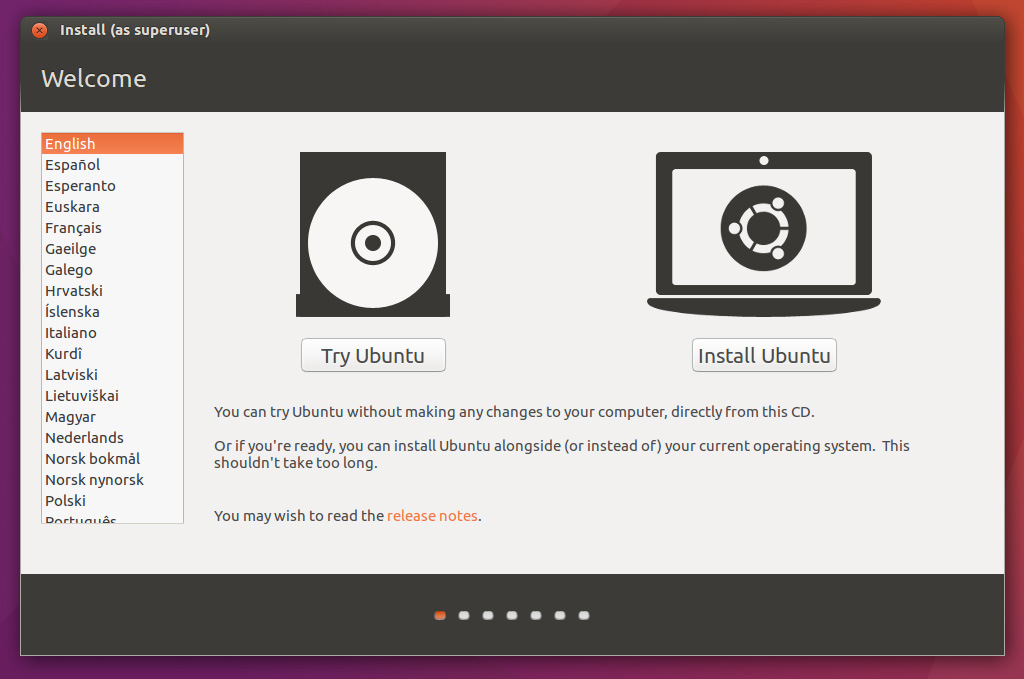
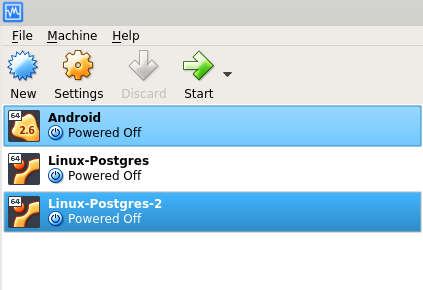
All that's left to do is to start the machine. Highlight your virtual machine and click the big green start button on the top bar.
Pretty soon, you'll see the screen ask if you want to install or try Ubuntu. Congratulations, you've just installed a virtual machine!