Using the Github CLI
by Bill Jellesma2022-04-11 23:00:00

If you've met me, you'll know that I'm not as much of a fan of using the browser as much as I'm a fan of just using a script. In my mind, why expend more mental energy opening github, probably getting distracted by youtube along the way, when you can simply write a script to automate a couple of actions?
Install Github CLI
If you navigate to cli.github.com, you'll see a big button to install the github CLI for your specific platform.

You can also click the "view installation instructions" to see the installation instructions for specific package managers and platforms. For example, on Windows, you can install via Chocolatey with choco install gh and on Mac you can install via Homebrew with brew install gh. On debian based distributions of linux, you will need to add the github cli to your aptitude package manager first.
curl -fsSL https://cli.github.com/packages/githubcli-archive-keyring.gpg | sudo dd of=/usr/share/keyrings/githubcli-archive-keyring.gpg
echo "deb [arch=$(dpkg --print-architecture) signed-by=/usr/share/keyrings/githubcli-archive-keyring.gpg] https://cli.github.com/packages stable main" | sudo tee /etc/apt/sources.list.d/github-cli.list > /dev/null
sudo apt update
sudo apt install gh
Connect the Github CLI to your account
Before you can list any pull requests or any of those fancy actions, you'll want to run gh auth login. You'll be asked how you want to authenticate. I'm just using my personal github so I chose to just login to github.com (not enterprise) via a web browser.

The CLI will then give you a one time code that you can use to link to github as a device on https://github.com/login/device. Once you login, the command line will confirm that you're logged in and return you to your prompt.
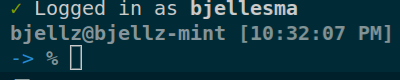
You're now authenticated with github and can begin issuing requests.
Create Pull Requests
The first thing we'll do is just create a new repo on github so skip to the next subsection if you don't need to do this
Create test repo and two branches
I simply just created a new repo.
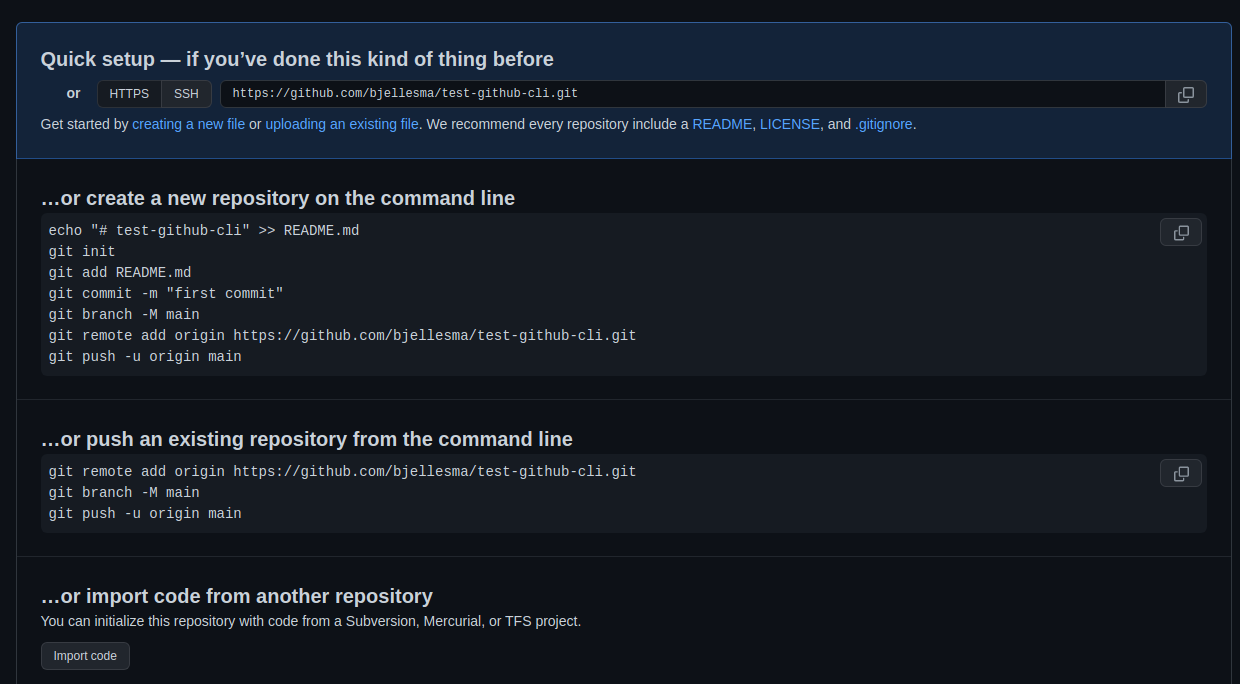
Next, we'll create a new directory on our local machine and issue the following to init the repo and add a remote.
echo "# test-github-cli" >> README.md
git init
git add README.md
git commit -m "first commit"
git branch -M main
git remote add origin https://github.com/bjellesma/test-github-cli.git
git push -u origin main
Now, create a new branch with git branch test-feature && git checkout test-feature
Edit the README.md file on this branch to include a new sentence and then commit this new change with git add README.md && git commit -m "this is a test commit from a new branch"
Nice! Now we can proceed to open the pull request... from the command line!
Open the pull request
We'll be using the branch name and repo from the last section so you may want to skim that if you want to follow along. An important note for the github cli is that it's smart and will use the git repo your command line is in AND the branch that you're currently on. For example, we're on the test-feature branch when we're issuing the following command so when a pull request is created, the github cli is smart enough to recognize that the branch we're attempting to merge is test-feature.
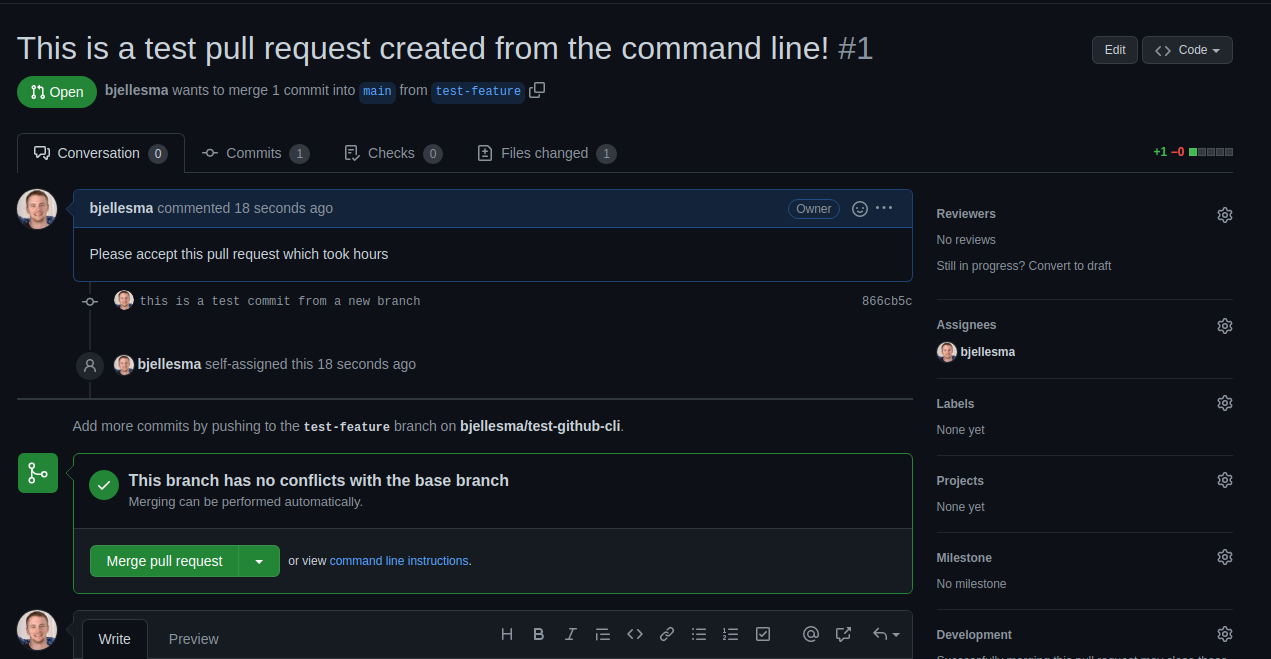
gh pr create --base main --title 'This is a test pull request created from the command line!' --assignee bjellesma --body 'Please accept this pull request which took hours'On the above command, we've used the following options
--baseThis is the branch that we're trying to merge to--titleThis is what we choose to call our pull request on the web--assigneeThis is the account that the pull request is to be assigned to--bodyThis is the actual text area that appears when creating your pull request. This can be useful to give more description of what should be done when the user merges the code
Here's the pull request that is created.
List Pull Requests and check status
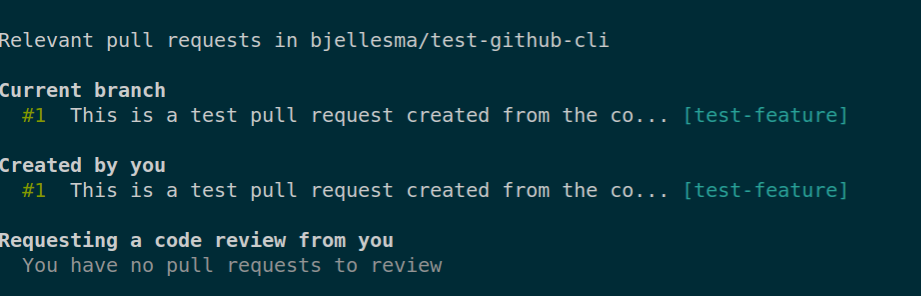
Say this is a large scale project, and you'd like to get up in the morning and see all of the pull requests assigned to you. Once again, your command line must be on your local directory with the github repository. gh pr list --assignee 'bjellesma'

But Github went a step further and gave you a single status command so that you can see PRs on the current branch, what you've created, and any code reviews request. The command is simply gh pr status
Integrate this with a task runner
If you've read any of my previous articles, you'll know how much of a fan I am of using task runners like pipenv. Why remember a bunch of arbitrary commands when you can make your own aliases in a virtual environment?
Let's add the following script to a Pipfile
[scripts]
stats = "gh pr status"
Now, we just need to run pipenv run stats to get the same result as gh pr status.
Ok, this doesn't really save much time or mental energy but what if we had the following in our scripts to create a PR, a github command which may have more command line switches?
[scripts]
stats = "gh pr status"
create-pr = "gh pr create --base main --title 'This is a test pull request created from the command line!' --assignee bjellesma --body 'Please accept this pull request which took hours'"
Now it starts to show its value because we can simply issue pipenv run create-pr. Even if you need to change the values before you create the PR, it's still easier to fill in the blanks on this PR rather remember how to create the command. In fact, you can probably take this further and create a git hook to use the information from the last commit to formulate the pull request. As my math textbook used to say, we leave this as an exercise to the reader.
Just scratching the surface
If you navigate to the github cli docs, you'll see that there are a lot more github cli commands meant to replicate what you can do in the browser. For example, you can create issues and create releases. Handling pull requests is what drew me to use the Github CLI which is why I chose to focus on that. In my workflow, creating the PR from the command line meant that I was able to create a new branch, fix a bug, and create a PR all from visual studio code.