Writing a discord bot in python
by Bill Jellesma2022-08-21 23:00:00
The code for this tutorial can be found on my github
What is Discord?
Discord is what all the young whipper snappers are using today. I first started using it in 2017 to play video games but I hear it used all the time now as the proffered chat app for all kinds of communities like book clubs, podcasters, and even in business as a way for teams to communicate. Just like AOL instant messenger from back in the day, it's possible to create bots for anything from helping to schedule raids in World of Warcraft to giving people the weather to scheduling meetings in companies.
Discord makes it very easy for anymore with any amount of coding experience to get started making a bot in almost any language/framework. So here's my experience making a bot using python.
Creating the app on discord.com
Before doing any coding, we have to register (for free) our application and bot with discord.
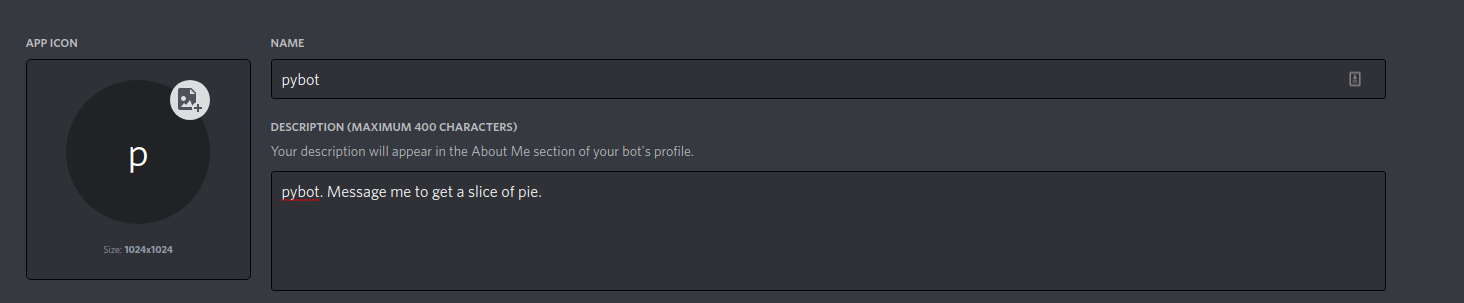
Go to https://discord.com/developers/applications and create a new application. I'll name mine pybot.

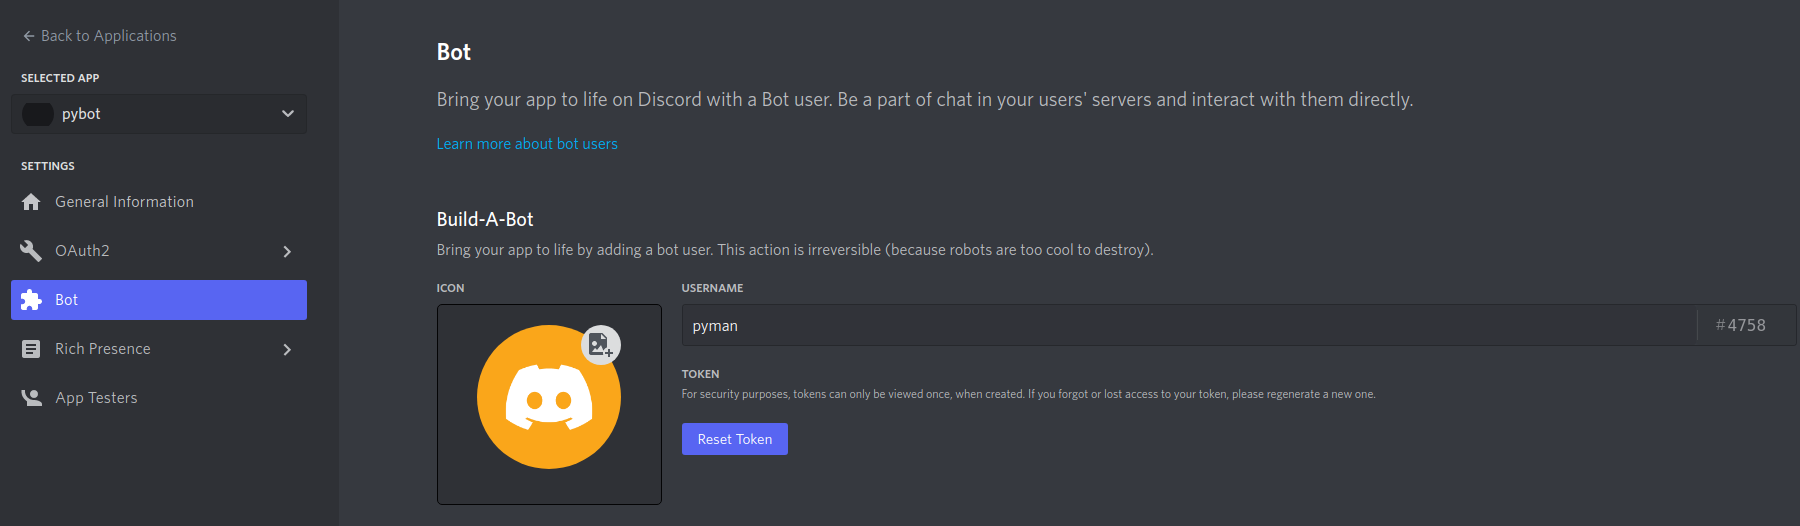
So the application is called pybot but we still need to create an actual bot (using discord's cleverly named Build A Bot feature) which we'll call pyman. By default, discord doesn't show you your randomly generated token on screen because whoever has the token can take control of your bot and application. So when you click Reset Token, you'll be allowed to view that token one time. You should copy it to somewhere secure like a password manager.
We need to generate a url so that we can invite our bot to the server and give it the proper permissions. We'll do this by going to OAuth2 -> URL generator. Select the scope as bot.
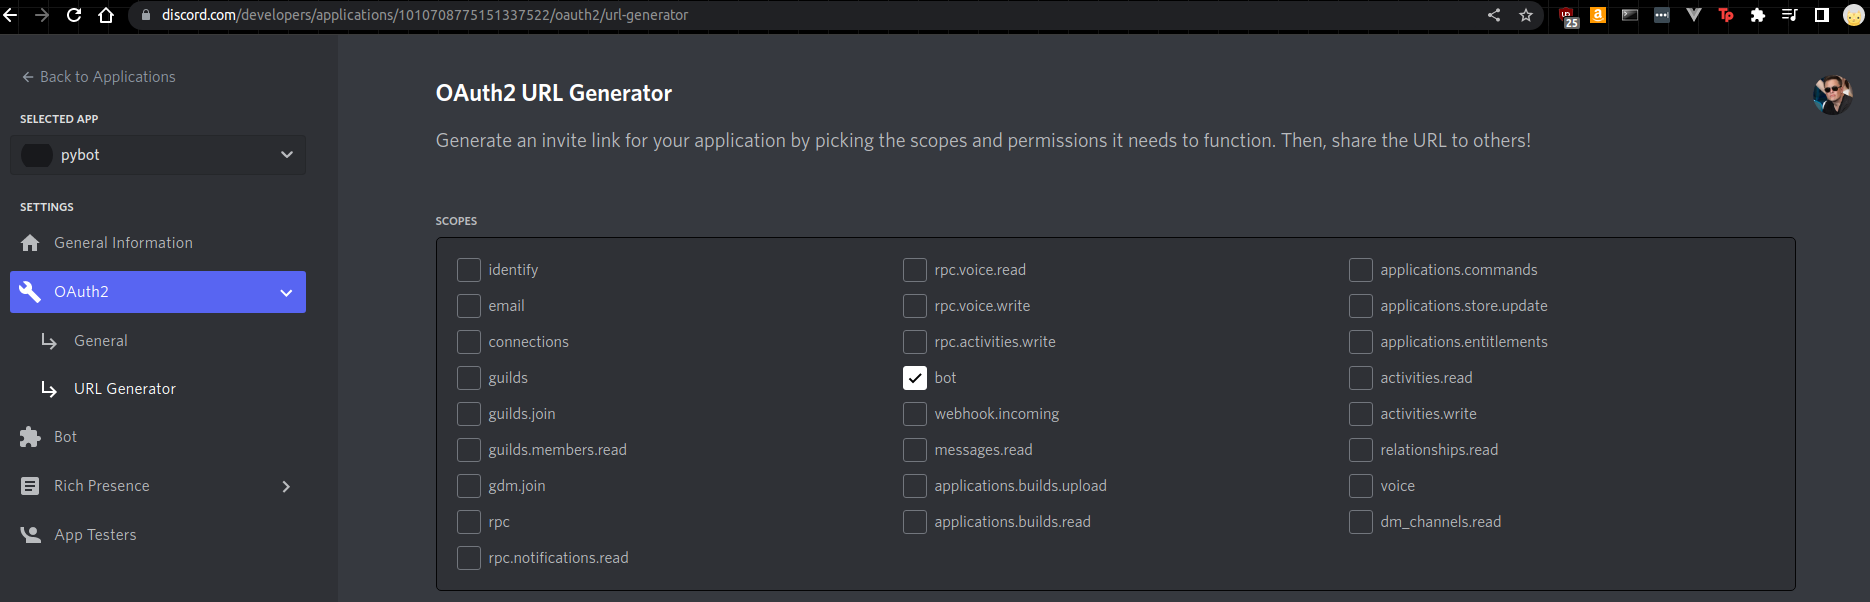
Choose a few permissions to give the bot.
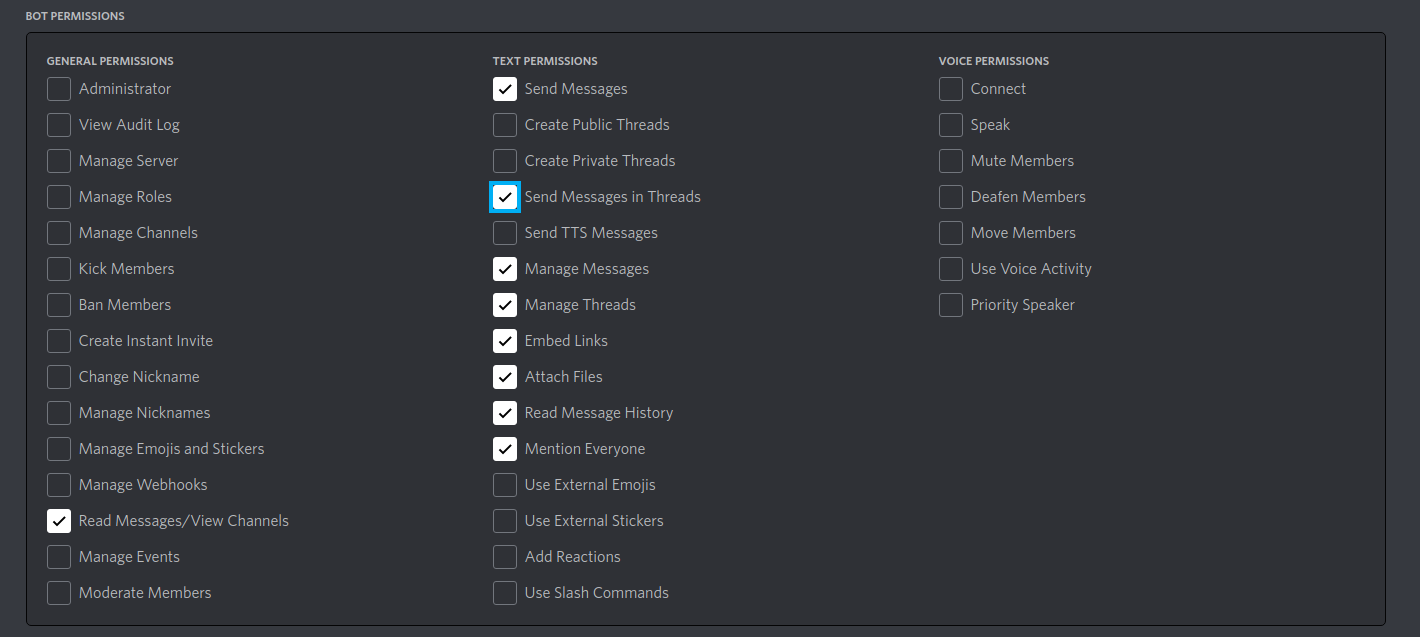
A URL will be generated at the bottom of the screen with the permissions being calculated in the URL as you select permissions. Simply copy and paste this URL into a browser. As soon as you do, you'll be asked to log into your discord and add it a server that you have the Manage Server permission for.

Setting up the environment
Now we can get into the actual code... After setting up our environment. I'll open up visual studio code and create a new directory called pybot. I'll also create a new virtual environment with pipenv by using the command pipenv init at the root of the folder.
In order to use discord commands, you'll need to install the discord.py library. If you're using pipenv, you can use pipenv install discord.py. If you're not using pipenv, you can just install to the entire system with pip install -U discord.py.
I also like using a .env file to house any of my private information so that it's easy to just add this to a .gitignore file. There's a package called python-dotenv that I like to use which you can install with pipenv install python-dotenv.
If you're using pipenv, your Pipfile should now look like below.
[[source]]
url = "https://pypi.org/simple"
verify_ssl = true
name = "pypi"

[packages]
"discord.py" = "*"
python-dotenv = "*"

[dev-packages]

[requires]
python_version = "3.7"
Before going any further, it's a good idea to create both a .env and a .gitignore file in your root folder and add the below to .gitnore.
.envNow if you a git status on the command line, you'll see the following. The reason that this is important is that whenever you create any commits, your .env file will not be tracked making for a more secure environment if you ever push this to github.

The last step before starting is find somewhere to store our token that we saved when we originally added pyman to pybot in a way that our code can access it. For this, we'll open the .env file that we created and put in
DISCORD_TOKEN={your-bot-token}where {your-bot-token} is to be replaced by the actual token string.
Finally we can start coding
Now it's time to start making a connection with pyman.
import discord
import os
from dotenv import load_dotenv

load_dotenv()
# get token from store
TOKEN = os.getenv('DISCORD_TOKEN')

client = discord.Client()

# class decorator used for all discord methods
# because asyncio is used under the hood
@client.event
async def on_ready():
    print(f'{client.user} has connected to Discord!')

client.run(TOKEN)
You're probably as confused as I was for the async keyword. This is because discord.py using asyncio to enable us to us asynchronous programming. Asynchronous Programming is common for chat applications because it allows us to run functions while other functions are waiting on some input. This is probably all you really need to know if you're just using this to code a discord bot but if you're still confused and want to know more, I found this great little explainer video by Patrick Collins
Now that you have this code in pybot.py, you can run this with python ./discord.py. If you're using pipenv, you'll need to use pipenv run python ./discord.py.
Not that much is happening when you first run the bot but this will test if you can connect successfully. If you can connect, you'll see something like the following.

Now, let's add in a little bit of functionality to the bot. First and foremost, we want to make sure the bot only responds to an actual user and not themselves. We'll do this by just making sure that the author of the message isn't the bot. Most discord bots I've seen have you enter a special character before every command so that the bot can tell you're talking to them. Let's use the ! character. If the message contains that character, only then, we'll execute the logic to figure out the command. We'll do one command to test our bot for now.
import discord
import os
from dotenv import load_dotenv

load_dotenv()
# get token from store
TOKEN = os.getenv('DISCORD_TOKEN')

client = discord.Client()

# class decorator used for all discord methods
# because asyncio is used under the hood
@client.event
async def on_ready():
    print(f'{client.user} has connected to Discord!')

@client.event
async def on_message(message):
    # we only want to take action if someone else sent the message
    if message.author != client.user:
        message_string = message.content
        # if the first character is an exclamation, the person is talking to the bot
        if message_string.startswith('!'):
            # strip the first character
            message_content = message_string[1:]
            if message_content == "hello":
                await message.channel.send('Goodbye')

client.run(TOKEN)
It's as simple as that to get up and running with writing a discord bot in python. There's a lot more that you can start doing with just these few commands but there are even more on the discord.py docs